you are here [x]: Scarlet Star Studios > the Scarlet Letters > machine shop improvements
<< before
tutorial: how to drill a 1/8” ball
after >>
september events
August 27, 2009
machine shop improvements
by sven at 7:00 am
During the past few months I've made some improvements in the machining area of my studio space. Here's a little guided tour.
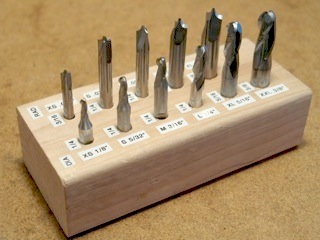
I've made sure that I have a complete set of the ball-nosed and corner-rounding end mills that I need for making armature joints. I've also created a handy wooden holder for them with easy-to-read labels for quick reference.
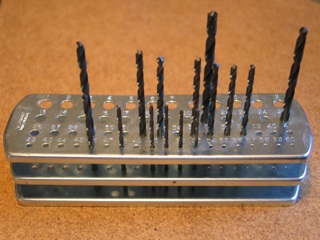
For a long time I only had the numbered drill bits that one needs for making threaded holes…
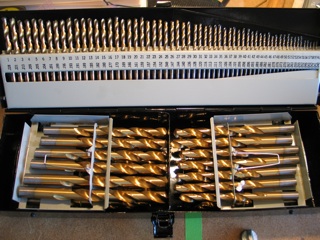
I finally decided that in order to run a serious machine shop, I really needed to have a full library of drills on hand. Thanks to Harbor Freight, I was able to get this 115 Piece Titanium Nitride Coated HSS set for just over $40!
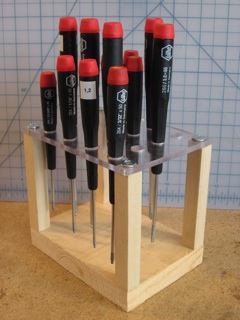
I fell in love with Wiha screwdrivers while working at Bent Image Lab. They feel like velvet… They don't do much good, however, if you can't find what you're looking for when you need it. So I built this pretty organizer for the set.
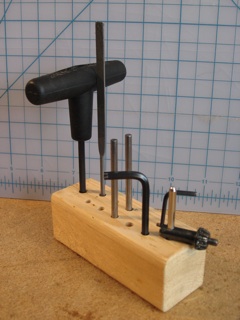
Simple but useful: I built this little organizer to hold the hex keys, chuck keys, and tommy bars needed for tightening and untightening my milling machine.
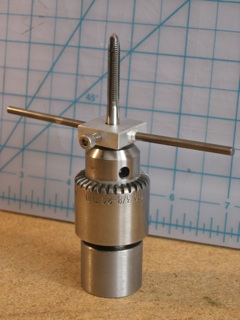
When you're threading a hole by hand, there's a risk that the tap won't go into the hole straight, and a risk that you'll accidentally break the tap.
Two books -- "Tabletop Machining" by Joe Martin and "Machine Shop Essentials" by Frank Marlowe -- show a tap holder design that solves this problem. The general idea is that you keep the tap vertical by holding it loosely in the drill chuck of a drill press or milling machine. Then, you build a special tap holder that keeps the tap in place with a screw.
Good idea! Except, the design in the books is -- in my opinion -- overly complicated. There's no reason why you need to make the tap holder from a 2" disk and then knurl the sides!
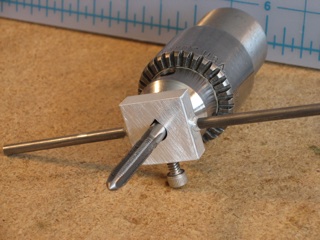
The design you see here is my simplification of Martin and Barlowe's design… And it works like a charm. It's pretty self-explanatory. The one important thing to point out is that I've filed the through-hole into a teardrop shape. That's essential -- it gives a better grip and thus helps keep the tap from shifting in its seat.
This tool has been so useful, in fact, I've built two version: one for size 4 taps and under, and one for size 10 and under.
Highly recommended.
posted by sven | August 27, 2009 7:00 AM | categories: studio space