January 1, 2015
now we are 8
by gl. at 9:54 pm
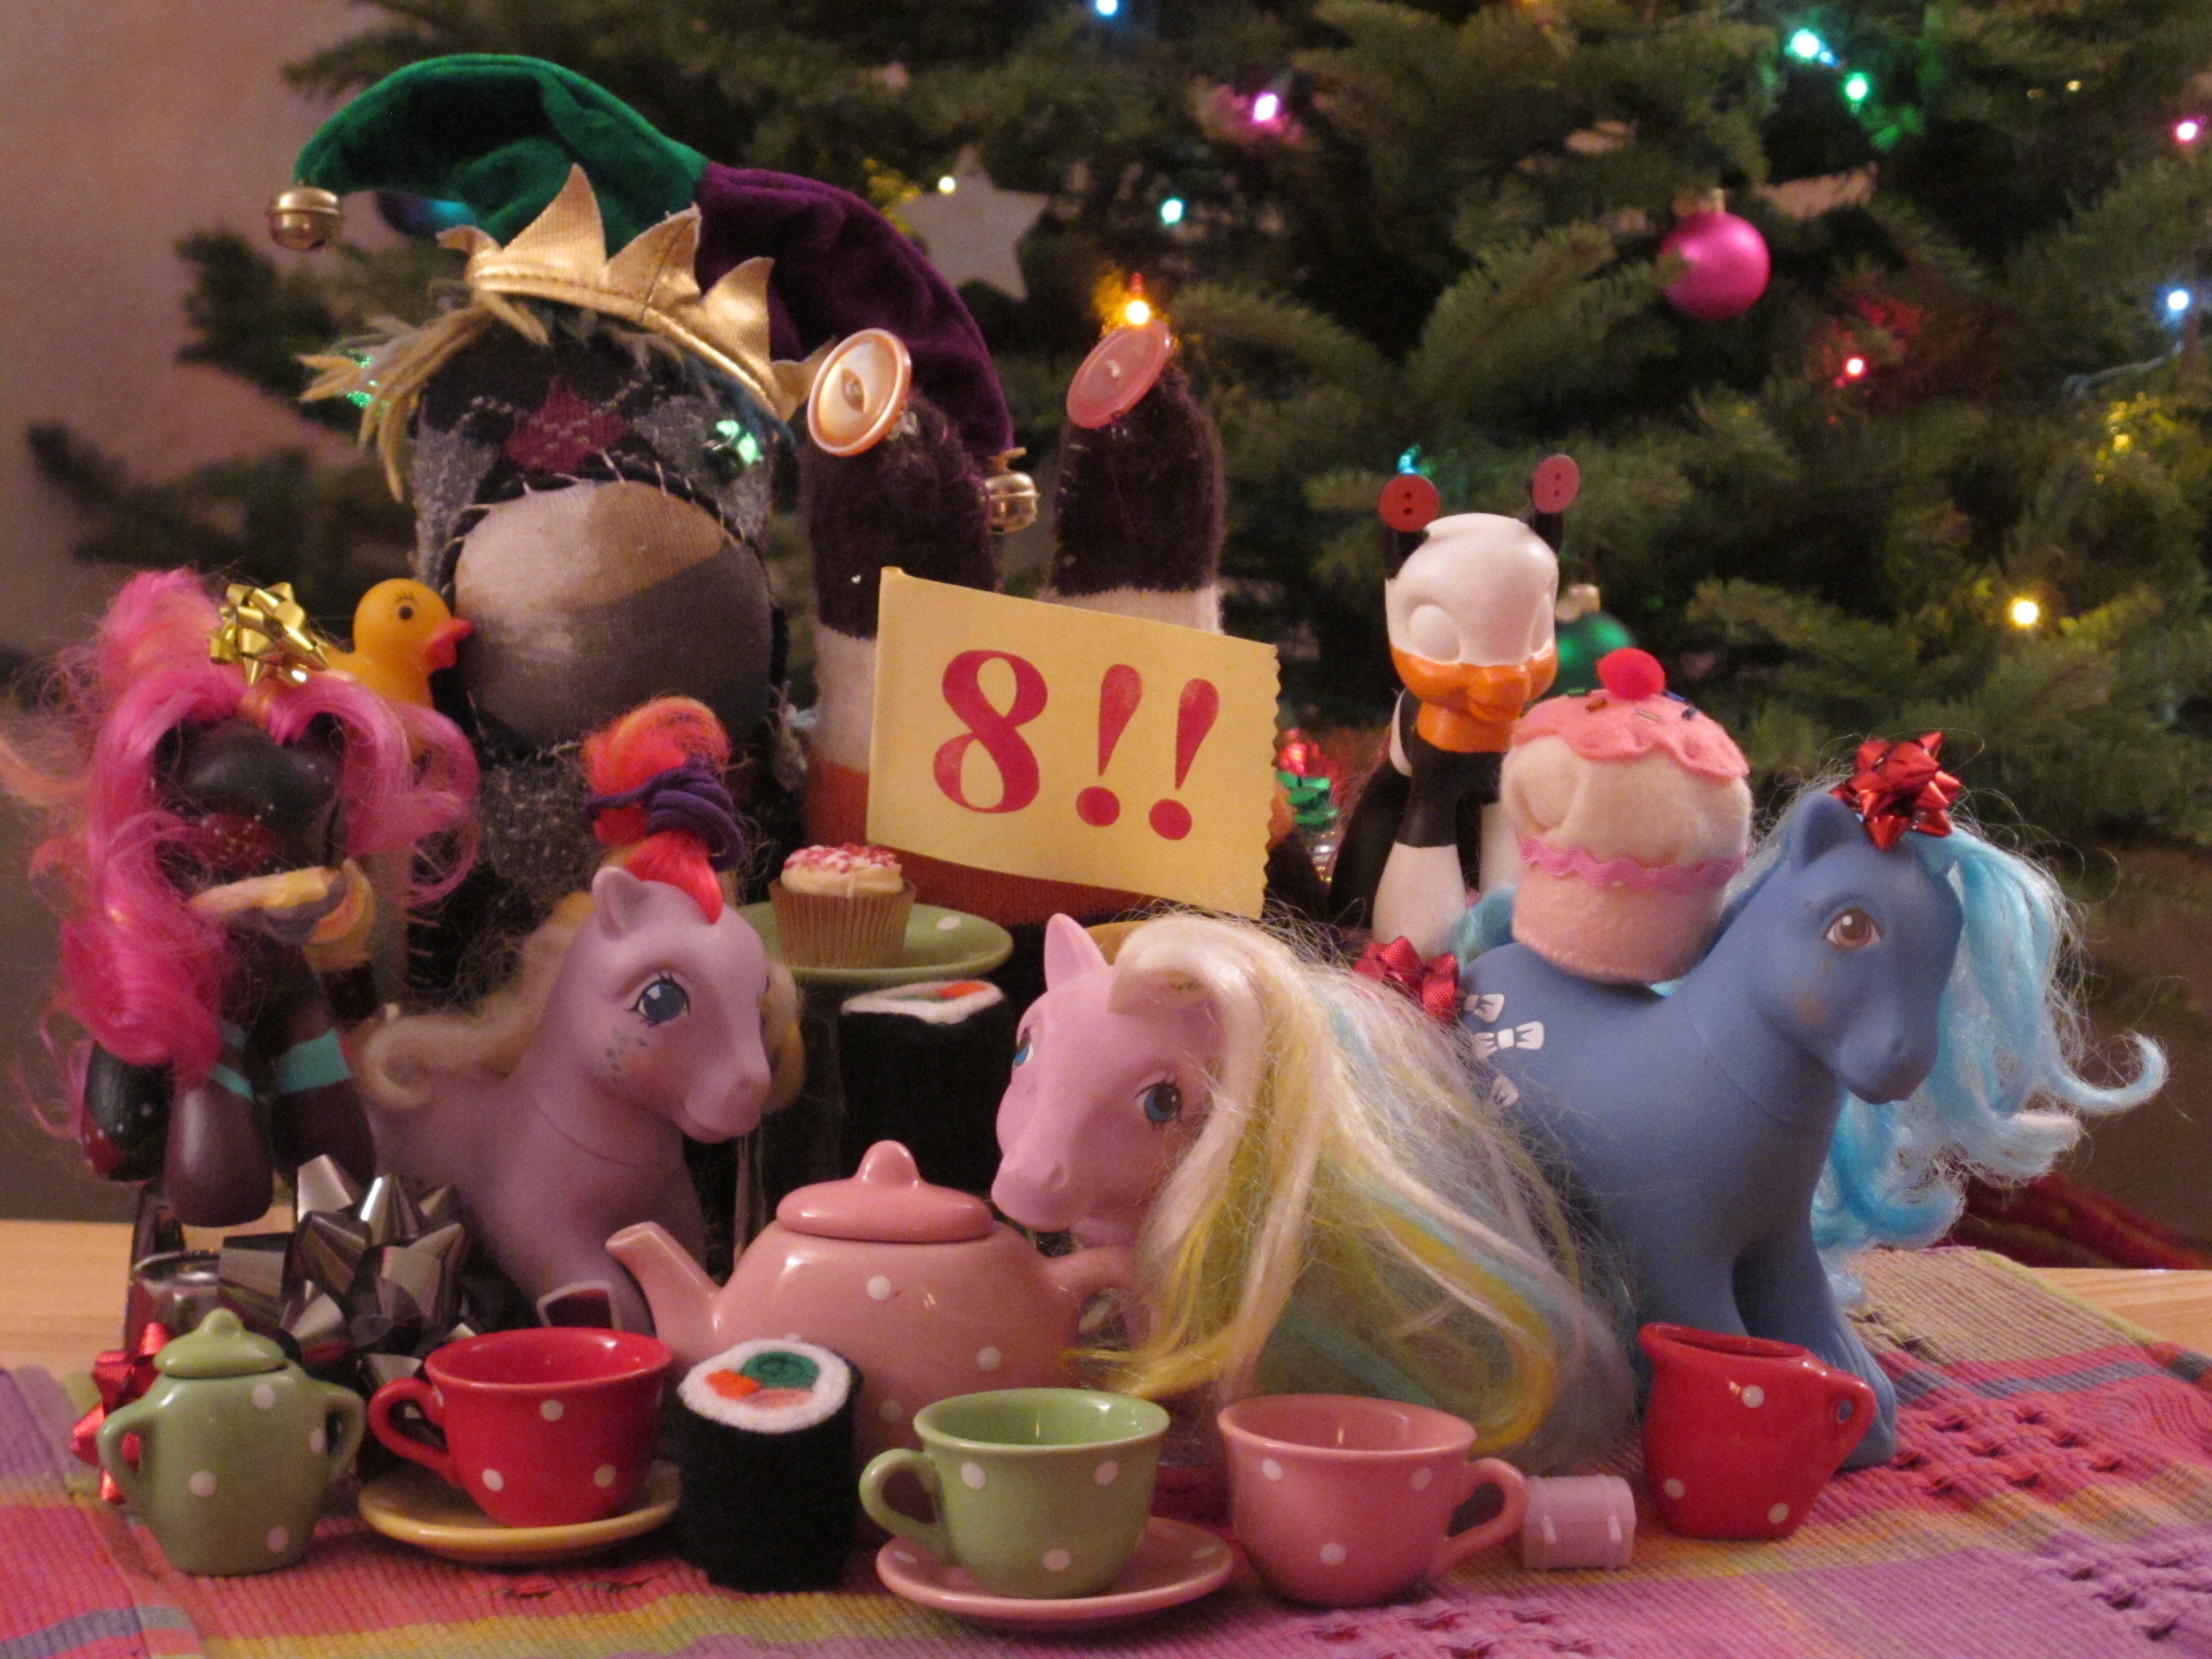
toby is now 8! happy birthday, toby!
posted by gl. | permalink | categories: toby
December 21, 2014
toby's christmas miracle!
by gl. at 9:58 pm
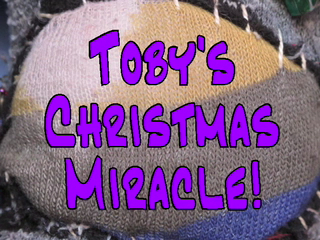
A Scarlet Star Studios Christmas tradition since 2009…
The classic musical comedy which has delighted and enraptured children around the world...
Featuring the most beloved five-armed sock creature of all time: Toby!
...It's TOBY'S CHRISTMAS MIRACLE!
(Also available on YouTube.)
posted by gl. | permalink | categories: toby
October 31, 2014
happy halloween from scarlet star studios!
by sven at 12:20 am

posted by sven | permalink | categories: miscellany
December 21, 2013
toby's christmas miracle!
by sven at 7:23 pm
A Scarlet Star Studios Christmas tradition…
The classic musical comedy which has delighted and enraptured children around the world...
Featuring the most beloved five-armed sock creature of all time: Toby!
...It's TOBY'S CHRISTMAS MIRACLE!
(Also available on YouTube.)
posted by sven | permalink | categories: toby
October 31, 2013
happy halloween from scarlet star studios!
by sven at 10:30 am

posted by sven | permalink | categories: miscellany
October 25, 2013
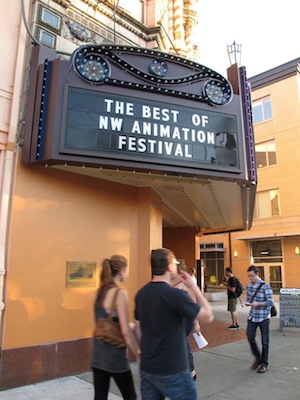
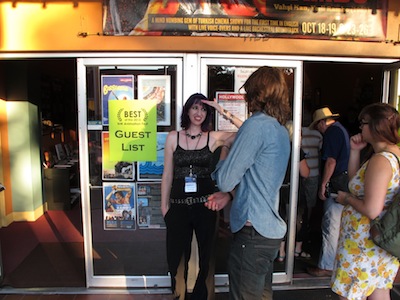
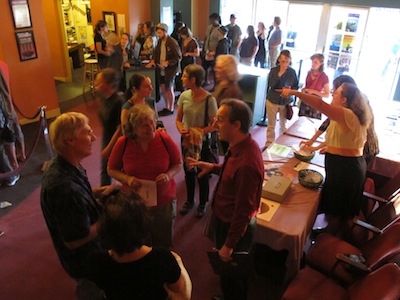
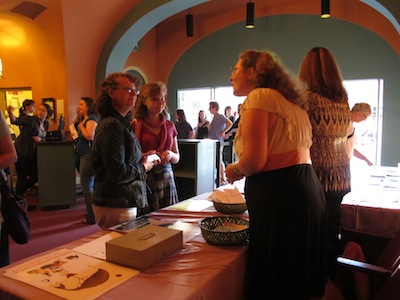
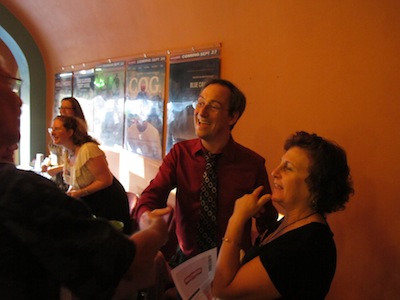
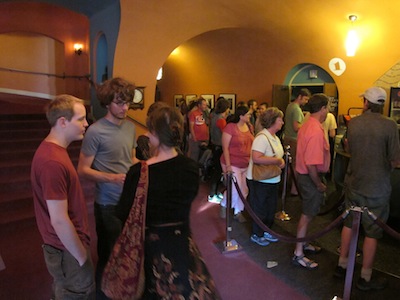
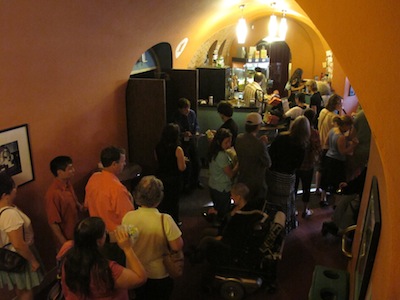
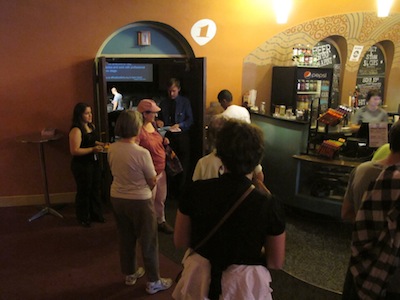
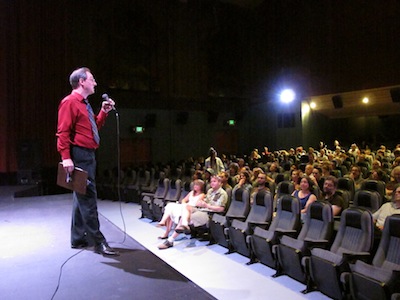
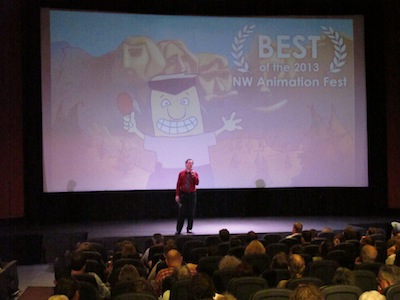
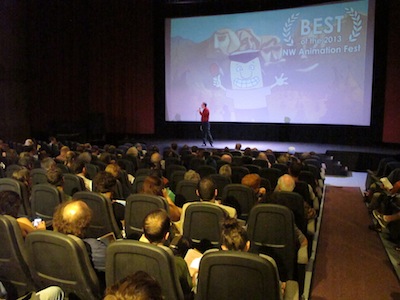
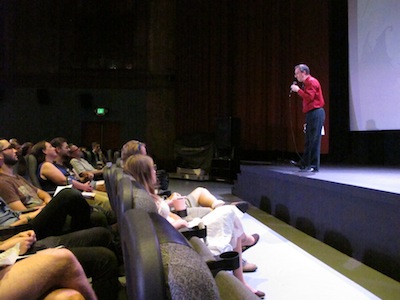
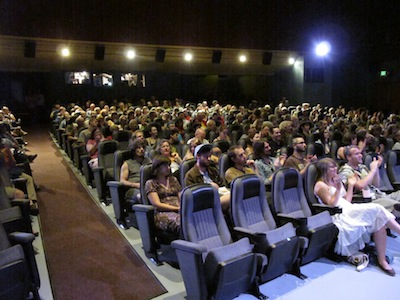
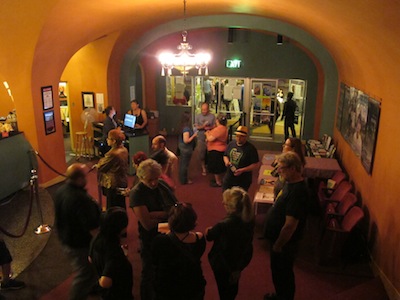
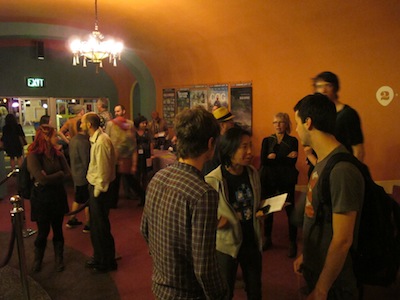
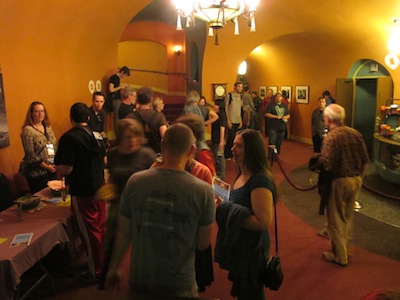
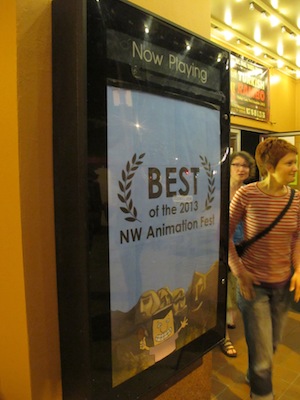
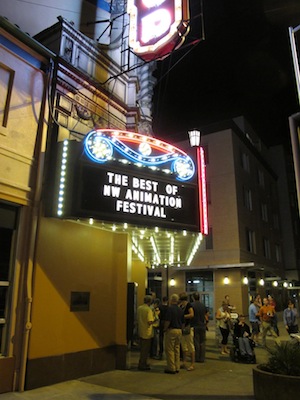
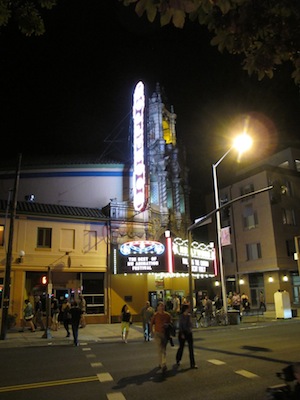
event review: best of the 2013 nw animation fest
by sven at 4:43 pm
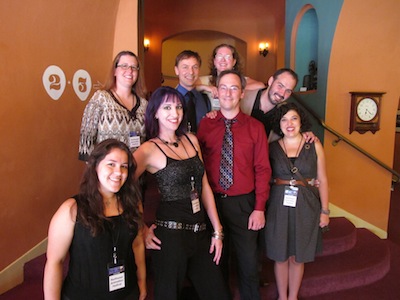
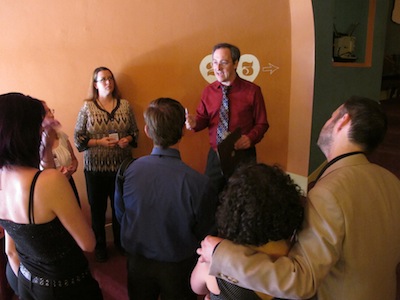
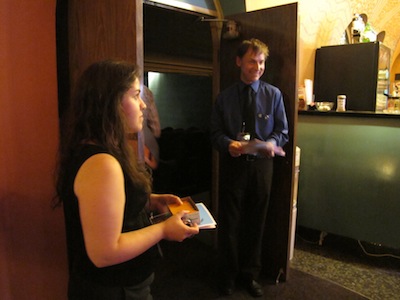
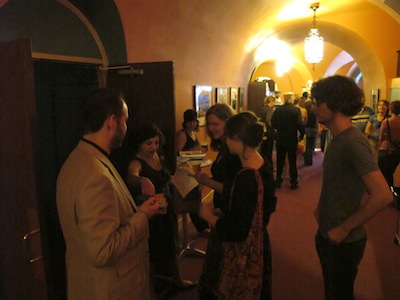
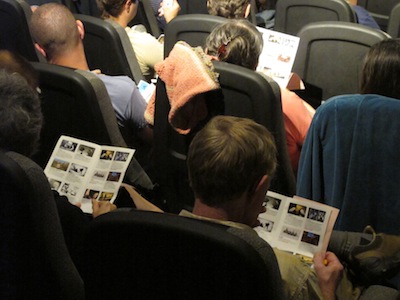
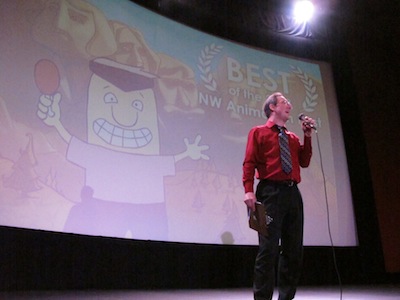
Our Best of the 2013 NW Animation Fest event took place on Saturday Sept 7 at the Hollywood Theatre in Portland, Oregon. It repeated one week later on Sept 14 at the Bijou Metro in Eugene. Here's a short review-in-photos that I created for the NWAF Facebook page.


posted by sven | permalink | categories: nw animation festival
July 14, 2013
women in animation 2013
by sven at 1:56 pm
While putting films in sequence for this year's NW Animation Fest, I was struck by the scarcity of female characters. Because gender interests me, I decided to throw together some quick statistics to study what's going on.
My data set consists of the 154 films that were selected for screening at our 2013 festival. Here's what I found:
BYLINE
(In the program, who did we list on the film's "created by" line?)
66% Male
19% Female
15% both / name of studio only
GENDER OF FILM'S PROTAGONIST
66% Male
20% Female
14% none (abstract or unidentifiable)
If we stopped there, you might guess that men exclusively make films about men, and women make films about women. But there's actually a stronger bias at work.
MALE BYLINES
72% Male protagonist
12% Female protagonist
17% abstract, or gender of protagonist is unidentifiable
FEMALE BYLINES
41% Male protagonist
48% Female protagonist
10% abstract, or gender of protagonist is unidentifiable
GROUP BYLINES
(creators of more than one gender listed, or name of studio only)
83% Male protagonist
13% Female protagonist
4% abstract, or gender of protagonist is unidentifiable
What I see here is that when women make a film, they create female protagonists about 1/2 the time. But when men make films, they create male protagonists about 3/4 the time. Group projects feature male protagonists about 4/5 the time.
It seems intuitive that artists would have a bias toward creating protagonists that look like themselves. But this is not really the case. Women seem to have a fairly egalitarian interest in both men and women. Men, in contrast, tend to take a male-identified point of view.
posted by sven | permalink | categories: nw animation festival, writing