you are here [x]: Scarlet Star Studios > the Scarlet Letters > stopmo experiment: replacement faces
<< before
armatures: making a hinge joint's tongue
after >>
poem: old man brontosaurus
March 10, 2010
stopmo experiment: replacement faces
by sven at 7:00 am
Lena Podesta has started up an animation study group for members of ASIFA Portland. A few weeks back I had a cold and was too fuzzy-headed to machine armatures… So I started work on something for the study group: a set of replacement faces.
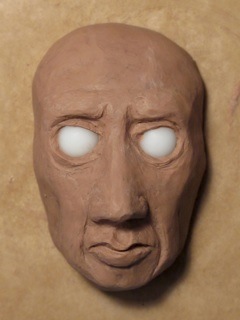
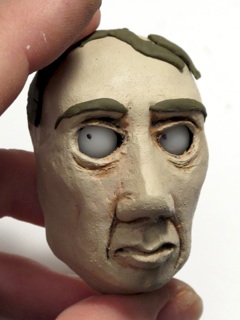
Fig.1: The sculpt was done using Chavant medium plastilene on top of a piece of wood wrapped in wax paper. The eyes are acetal plastic balls, which can be purchased either through animateclay.com or smallparts.com (which now offers its catalog via amazon.com). I studied sculptures of Roman emperors as reference while doing the sculpt, which helped me bring in a few nice details.
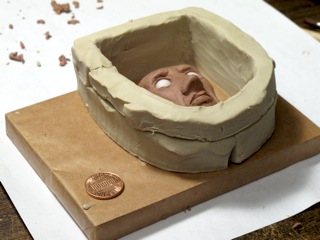
Fig.2: The mold wall is made from Klean Klay, which Ron Cole recommends in his fantastic mold-making tutorial.
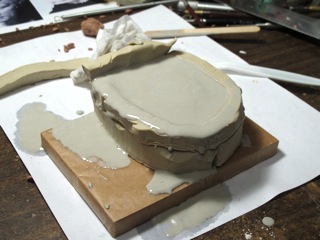
Fig.3: I used Ultracal 30 to make the mold. There is only one place in Portland that carries it… Stephenson Pattern Supply.
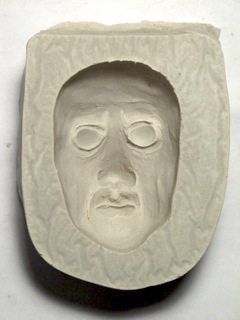
Fig.4: The negative image inside the mold is always creepy and fascinating to see. A number of tricks in the DisneyLand haunted house ride are based on this optical illusion…
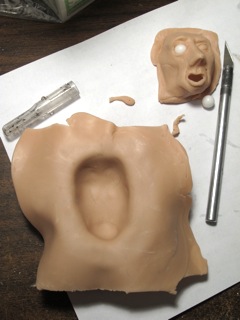
Fig.5: I put some Super Sculpey through a pasta roller. (The pasta roller is dedicated to polymer clay only.) This is intended to be a press mold, so I simply laid the sheet of Sculpey in and firmly pressed it into the details.
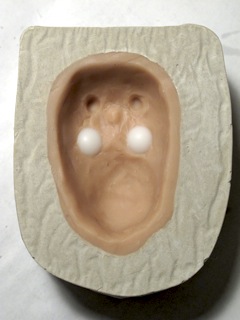
Fig.6: I trimmed the edges of the Sculpey sheet, pressed two more acetal balls into the eyes, and then laid in another sheet of Sculpey.
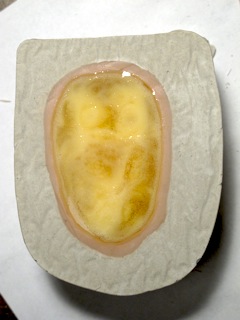
Fig.7: To create a "skull" that this "mask" can rest on, I poured resin into the negative space.
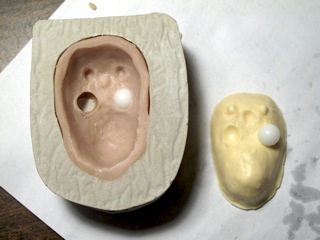
Fig.8: Here's the skull. Notice that I've given it two bumps on the forehead as keys for registration.
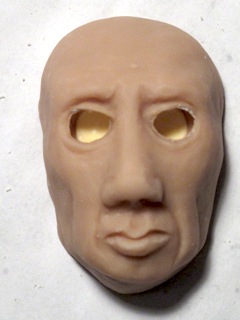
Fig.9: When I pull out the Sculpey, it's pretty easy to distort the edges. The skull helps put the face back in shape — but it's not going to be perfect. A little bit of detail's been lost, but overall I'm pretty pleased with how the pull turned out.
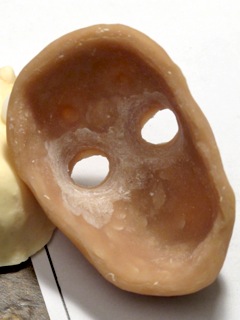
Fig.10: One problem I quickly discovered was that I wasn't doing enough to dig out the eye sockets. On this mask, I wound up Dremeling the interior. There are still problems… On some pulls, the eyeballs are right up against the eyelids — on others, the eyes are a little recessed.
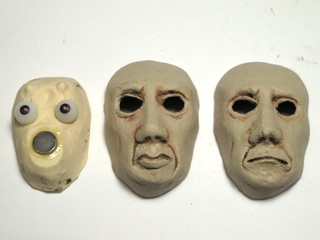
Fig.11: The first pull was a "neutral" face. For the second pull, I re-sculpted the mouth shape to represent the letter "M." I intend to do twelve faces in all, so I can have a full set of mouth shapes for lip sync.
The paint is several layers of Delta Ceramcoat acrylics. These are cheap crafter's paints — but it's invaluable to be able to use paint colors straight out of the bottle, rather than trying to re-mix the right tint every time. The top color here is called "bamboo."
One obvious problem I'm going to run into is eyebrows. How am I going to keep them in the same place each time I change masks? I'm really seeing the wisdom of having the forehead and lower face be separate pieces, which was a big innovation for the movie "Coraline."
Still, even if this experiment is flawed from the start, I think it's worth seeing through — just to find out how these replacement faces work in practice.
posted by sven | March 10, 2010 7:00 AM | categories: stopmo